Manage Single Sign-On
Allowing specific login experiences for each customer account is possible with Account-level SSO. These SSO settings can be managed in Account > Settings > Authentication by end user Account Managers and Super Admins.
Add SSO Configuration
Go to .
Click .
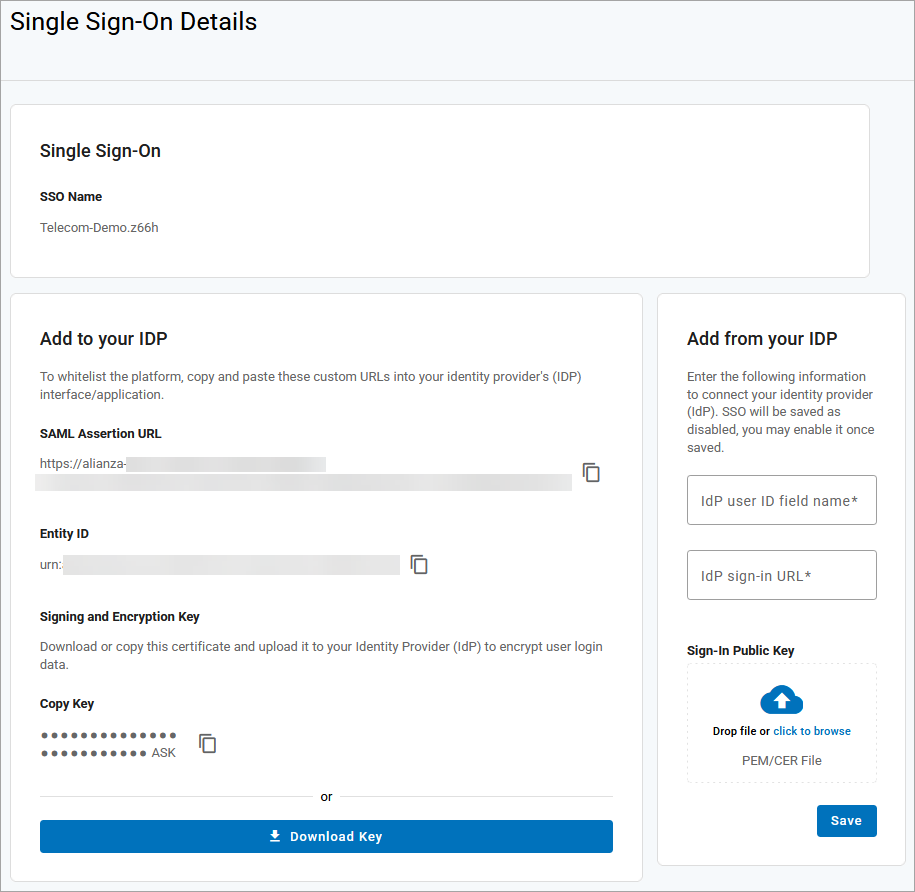
The SSO name and custom URLs are automatically created.
In the Add to your IDP section, copy the following information and add it to your identity provider's (IdP) interface/application:
SAML
Entity ID
Signing and Encryption Key
In the Add from your IDP section, enter the following information from your IdP:
IdP user ID field name. The name of the attribute in your IdP's SAML assertion that uniquely identifies each user on your side. Common values include
email,username, oruid. Alianza uses this field to match an incoming SSO login to the correct Alianza account.IdP sign-in URL. The SAML SSO endpoint of your IdP, which Alianza will redirect users to when they initiate an SSO login. This field is sometimes labeled as the SSO URL, SAML Endpoint, or Identity Provider Login URL.
Sign-in Public Key. The public key certificate (PEM or CER file) used to verify the authenticity of SAML assertions sent from your IdP to Alianza, ensuring login requests are legitimate and have not been tampered with.
Click [Save]. If all fields are complete, the status is updated to Ready.
Locate the configuration in the list and, if it's in a Ready status, click Test on the right.
Successful. The SSO configuration is ready to be enabled.
Unsuccessful. One or more fields were entered incorrectly. Check your settings and try again.
Enable SSO Configuration
Locate the configuration to be enabled and switch the Enable toggle on.
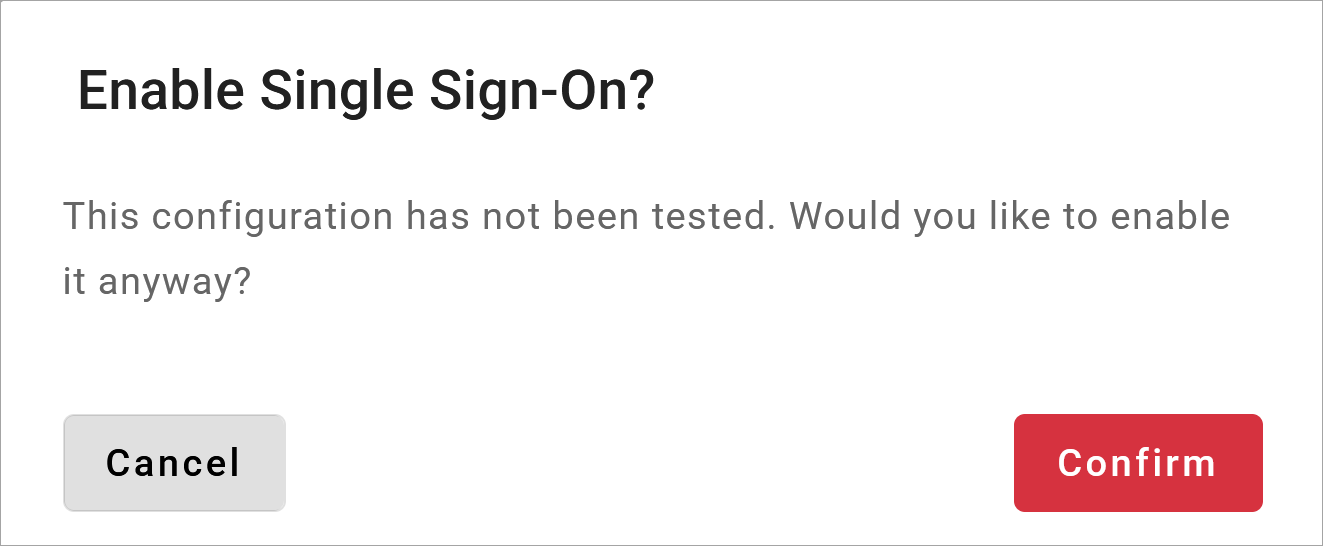
If testing has not been completed, a confirmation message will appear. Read the message, then click [Cancel] to go back and test the configuration before it’s enabled or click [Confirm] to proceed.
All users on the account now use this authentication method to log in.
Notify the account users that they must sign in using SSO from now on. This part is important because there will be no visual indication on the login page that the process has changed. If they enter their username and password, they will get an error and will be unable to reset their password.
For an example notification, see Customer Notification Templates.
Switch SSO Configurations
Follow these steps to switch which SSO configuration is enabled on the account.
Add a new SSO configuration and test it to make sure it works.
Disable the current configuration by switching the Enable toggle off.
For the new configuration you want to enable, switch the Enable toggle on. Customers will now use this SSO authentication method.
Notify your customers that their SSO authentication method has been switched, so they will need to use their credentials for the new IdP to log in.
Disable SSO Configuration
To disable SSO and go back to using local authentication (username and password) to log in, switch the Enable toggle off. Remember to notify the account users that they will need to reset their password to log in.
Customer Notification Templates
Alianza does not email your customers when the authentication method is changed, so it’s important for you to let them know what’s going on. Feel free to use these email templates to communicate with your customers — just remember to customize them with your information first.
Subject | Email Body |
|---|---|
SSO Enabled | Hi <First Name>, Single sign-on (SSO) has been enabled for your <Title> account. This means you no longer need to remember a separate username and password for this service and will sign in with your <Identity Provider’s> credentials instead. To access the portal or the UC app, click [Sign in with SSO] and enter your <Identity Provider’s> credentials. Thank you, <Signature> |
SSO Disabled | Hi <First Name>, Single sign-on (SSO) has been disabled for your account, which means you will no longer sign in using your <Identity Provider's> credentials. The next time you log in to the portal or UC app, click [Forgot password?] on the login screen to update your password. Thank you, <Signature> |