Paging Groups
Paging groups are used to make one-way announcements to one or more devices — like the announcements you remember over the loudspeakers at school. All users assigned to a paging group can be contacted at once via their device's speaker by dialing the group's extension.
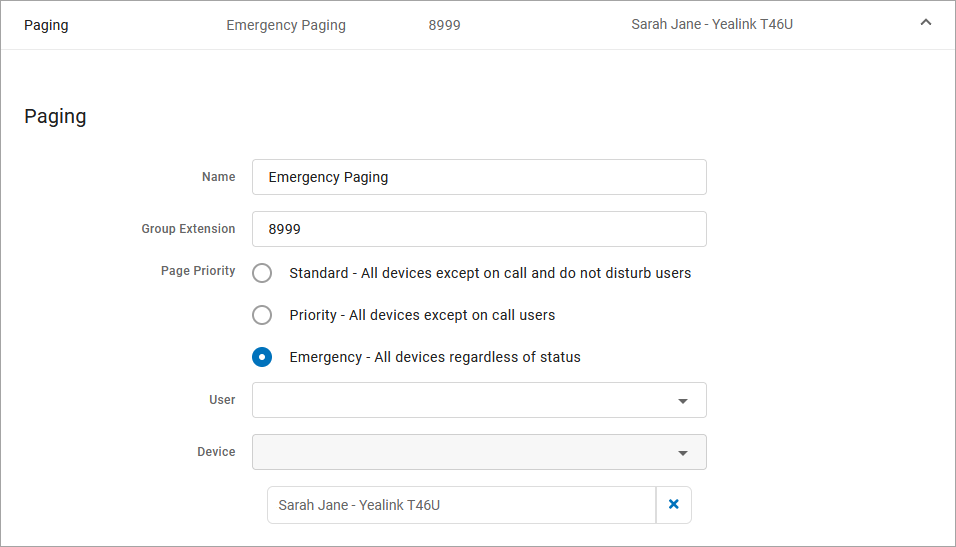
Add or Edit Paging Group
Go to Call Groups and select a Paging Group to view and edit its settings. When you’re done, click [Save].
Field | Description |
|---|---|
Name | Enter a name for this group. This name will appear on devices that are assigned to this Paging Group. |
Group Extension | Enter the extension that will be dialed to page the group. |
Page Priority | Assign a priority to ensure proper handling of incoming pages as an attempt to not interrupt current calls unless deemed necessary by the paging party:
|
User & Device | To add a user to the group, select their name and device. Repeat for all users who will be included in this group. |
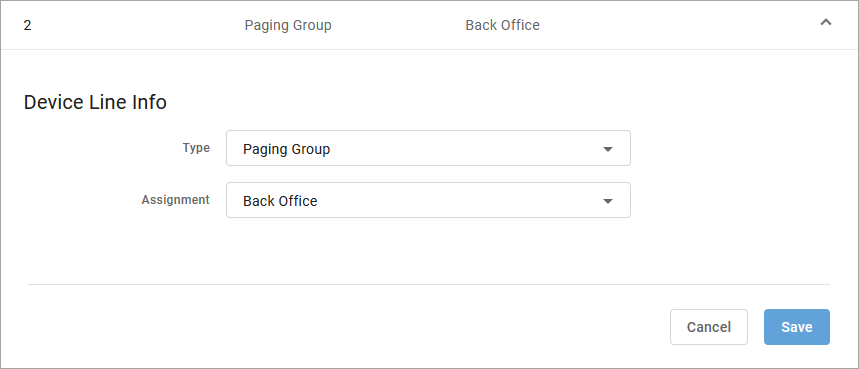
Assign Paging Group to Device Line
To add a Speed Dial line key to an IP phone, follow these steps for each device:
Go to tab.
Expand your device and then expand the line you want to add the paging group to.
Enter the following settings:
Type: Paging Group
Assignment: Choose the paging group
Click [Save].
Make an Announcement
Press the line key assigned to the paging group or dial the group's extension.
You are now connected to all users in the paging group. Make your announcement and then hang up.