Auto-Attendant Setup Guide
Building Basics
Prep. Before building the auto-attendant, create any schedules, hunt groups, and queues that you'll need.
Build. As routes are added to the builder, they are arranged in neat rows and columns, so you can see how it all fits together.
Save. When you're done configuring a route, click , and it will be added to the Auto-Attendant builder canvas. Each route that has an
 Add icon after it requires an additional route.
Edit. To edit a route, click on the primary card to open the editor for that route on the right side of your window.
Tip
For best results, open the Auto-Attendant builder in Chrome or Firefox.
1. Add an Auto-Attendant
Click [+ Add Auto-Attendant].
The auto-attendant builder opens in a new window. If your browser doesn't allow pop-ups, it may ask if you want to allow this one.
Enter a name for this auto-attendant.
Click the
Add icon to select and add a new route (see the Routes Guide for details). When a route is selected, the editor will slide out on the right of your window.Configure the route as needed, then click Save.
Back on the auto-attendant builder, there is now a
Add icon next to each new route. Click the icon to add the next route.
The auto-attendant saves automatically. When you're done, go back to the Auto-Attendant tab and refresh the screen to see it.
Editing an Auto-Attendant
While an auto-attendant is live and processing calls, you can open the builder to see how it's set up, but nearly all routes are view-only to avoid disconnecting calls or otherwise breaking it. The only exceptions to this rule are Hunt Group and Queue routes, which can be swapped while the auto-attendant is live. See Edit an Auto-Attendant for details.
2. Activate an Auto-Attendant
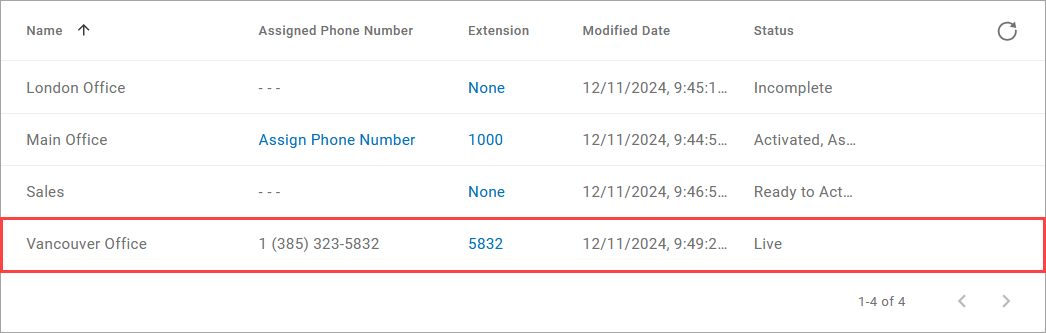
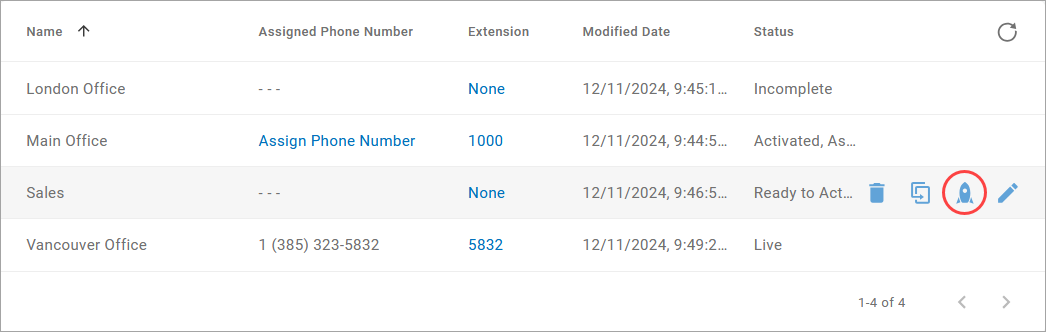
When the auto-attendant is complete, meaning there aren't any open routes and everything is good to go, its status will be updated to Ready to Activate. At this point, you click  to Activate it.
The auto-attendant won't be live until a phone number is assigned.
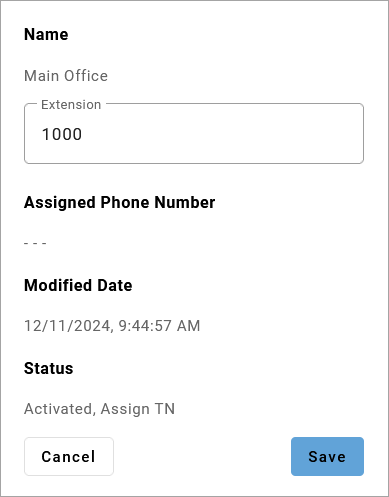
3. Assign an Extension (Optional)
Assign an extension to an auto-attendant, so users can transfer callers back to the main menu to reach a different department.
|
|
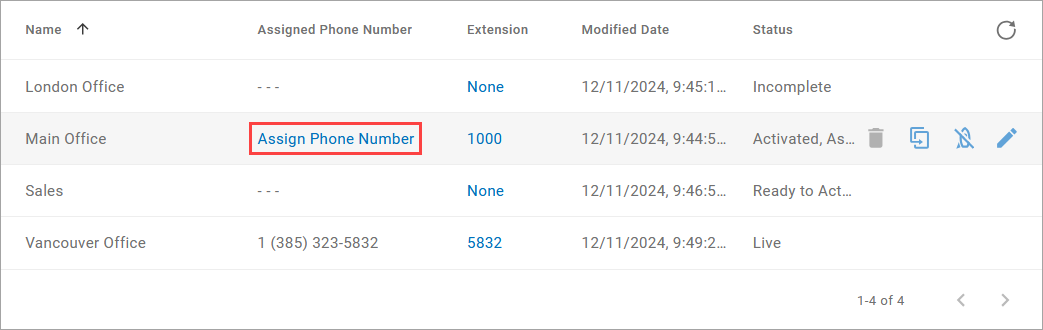
4. Assign Phone Number
Once the auto-attendant is activated, a phone number needs to be assigned to it so calls to that number can be directed through the auto-attendant.
If the auto-attendant is activated but you do not see the Assign Phone Number link or have access to the Phone Numbers page, please contact Customer Support for assistance.
Click Assign Phone Number to go to the Phone Numbers page.
Locate the phone number this Auto-Attendant is for and click the
 map icon on the right.
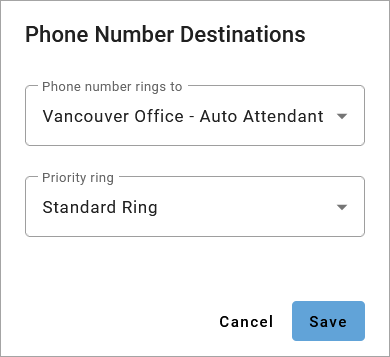
Update the Phone Number Rings To: field to the active Auto-Attendant and click [Save]. If the auto-attendant you're looking for isn't listed, make sure it has been activated.
The auto-attendant's status is updated to LIVE, and it is now active on the phone number.